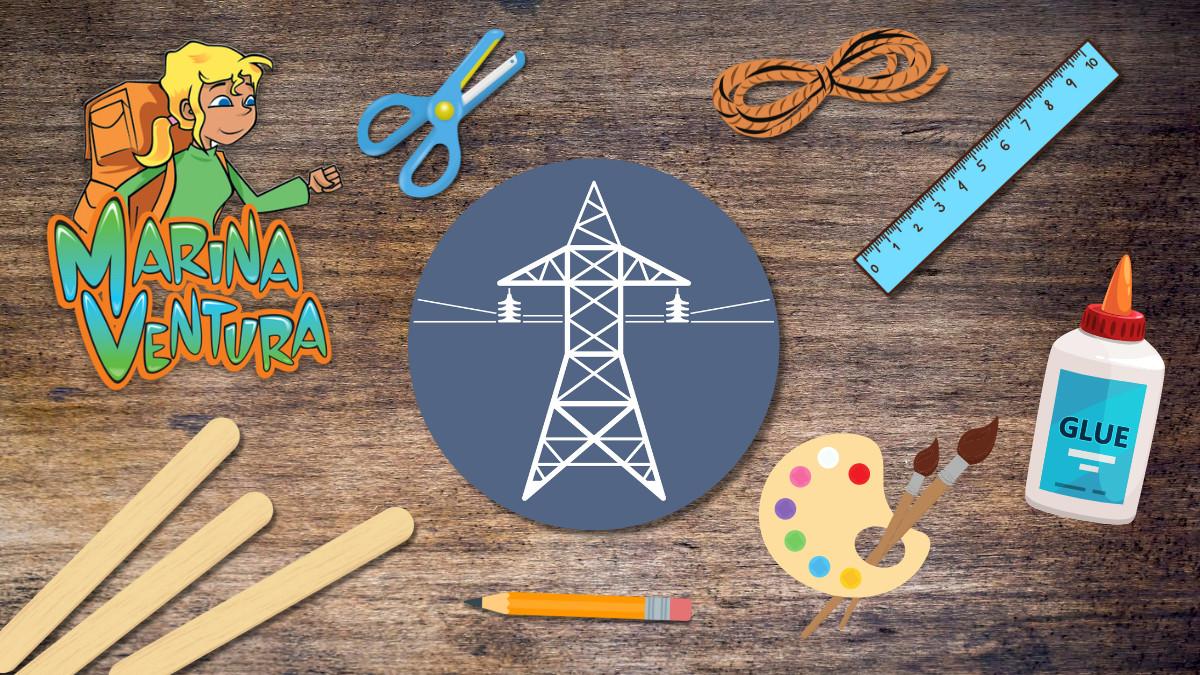
Hi guys! Marina Ventura here.
Are you ready to help design a super cool and strong pylon using lolly sticks?
Let’s combine creativity, engineering, and sustainability to make a model that might inspire the pylons of the future!
Materials needed
- Lolly sticks
- White glue or a hot glue gun (with adult supervision)
- Scissors (ask an adult to help with this!)
- Ruler
- Pencil
- String or wool (to represent cables)
- Paint and decorations (optional)
Step-by-Step instructions
Step 1: Plan your design
- Sketch your design on a piece of paper to visualise it.
Step 2: Build the base
- A strong base is essential. Arrange four lolly sticks in a square or rectangle.
- Glue the ends together and let it dry completely. This is your base.
Step 3: Create vertical supports
- Cut four lolly sticks to the height you want your pylon to be. Remember, it needs to be tall but stable.
- Glue one vertical support to each corner of the base. Make sure they stand upright and are evenly spaced.
Step 4: Construct the lattice (for A-frame design)
- Cut more lolly sticks to fit between the vertical supports.
- Start by gluing a stick diagonally from one vertical support to the next, forming an “X” pattern on one side.
- Repeat on the opposite side.
- Continue adding diagonal sticks to form a lattice pattern on all four sides. Each side should have crisscrossing sticks for strength.
Step 5: Build the top frame
- Similar to the base, make a top frame by arranging four lolly sticks in a square or rectangle.
- Glue the top frame to the upper ends of the vertical supports.
Step 6: Add horizontal supports (for extra strength)
- Add horizontal sticks between the vertical supports at different heights.
- This helps to reinforce the structure and makes it more stable.
Step 7: Attach the cables
- Use string or wool to represent the cables.
- Attach the ends of the string to the top of your pylon and let them hang down.
Step 8: Decorate your pylon
- Paint your pylon and add decorations if you like.
- You can use coloured paper, markers, or even small pieces of recycled materials to make it unique.
Top tips
- Triangles Are Strong: Use triangle shapes in your design to make it more stable.
- Wide Base: A wider base helps prevent your pylon from tipping over.
- Reinforcements: Add horizontal and diagonal supports to strengthen the structure.
- Eco-friendly materials: Think about using recycled materials or sustainable options for your model.
Share your creation
Once your pylon is complete, take a photo and share it with us!
Let’s innovate for a brighter, cleaner future together.
Have fun building your pylon and remember, your design could inspire the future of energy infrastructure!
We can’t wait to see your ideas! Send them to us here.
Listen to Marina Ventura Energy Explorer below!
Marina Ventura Energy Explorer is made with support from Grid for Good by the National Grid.


